
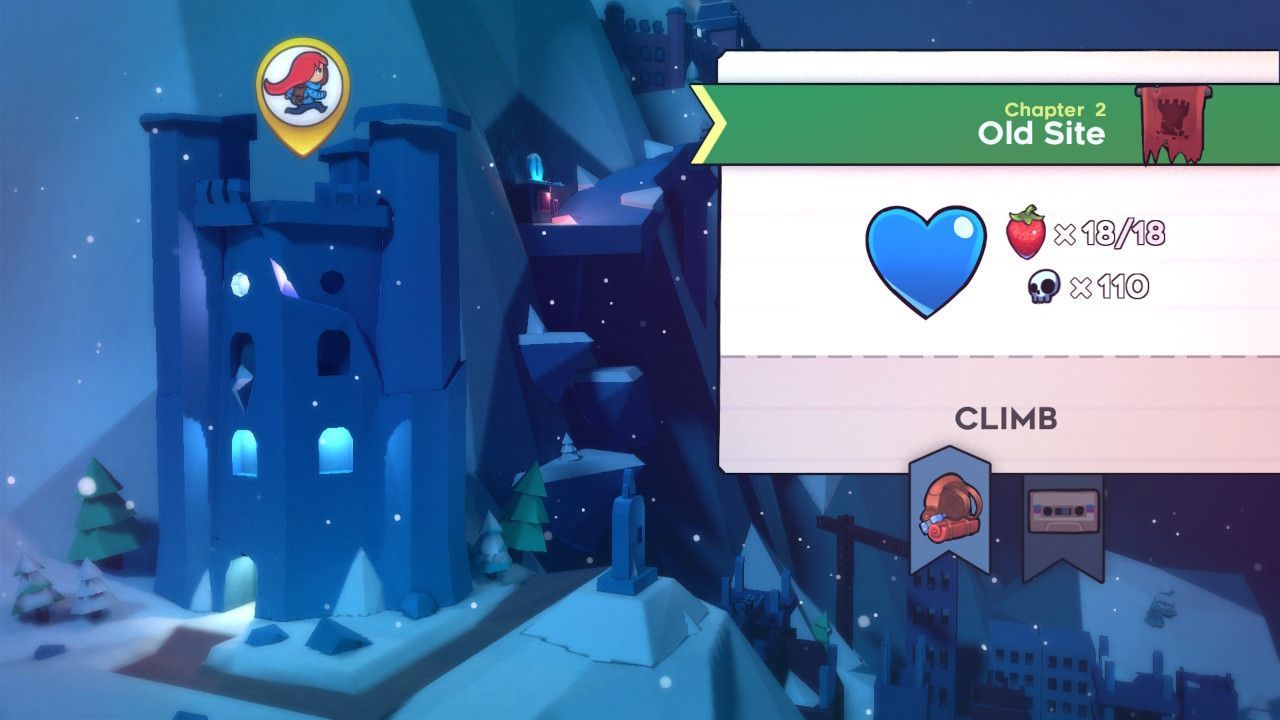
Celeste 100% Strawberry Guide – Chapter 2: Old Site

Let’s get stuck into collecting every strawberry in Chapter 2!
First off, it’s going to be difficult to collect all but one strawberry until you can dash through the starry space parts. So, let’s focus on that. Proceed right until you see a way to drop down.

Fall all the way down and dash into the crumbling wall on the right.

Make your way through this room by dashing into it.
Strawberry #1

In this room is our first strawberry. Do you see that little crack in the bottom right hand corner of the frame? Yep, that’s it! Jump up to the plank above, jump around the spikes and cling onto the right side of that floating wall. Kick off from it, past the first wall and dash and cling onto the left side of the middle floating wall, then jump onto the plank to the left. Jump up-right, dash over the spikes and then cling onto the right side of the floating wall. Slide down and kick off to collect the diamond, then dash right so that you can cling onto the wall just above the crack (or even fall down dash straight into the crack if you’re good enough and want to show me up).
Proceed through, fall down and there is our first strawberry… Hooray! Go back to the previous frame and proceed onwards.
And here we are at the mirror! Some creepy stuff will happen when you walk past the mirror, and then you’ll be able to dash through the starry space parts… pretty!
Strawberry #2

Dash up through the space and proceed left to the next room. You’ll have the big moving space rectangle in which you’ll need to dash past. The second space requires you to dash upwards through that and you’ll find our second strawberry!
Strawberry #3

Now make your way back to the middle room. Travel to the top of this room and we’re going to attempt the strawberry that’s trapped in between the space and the spikes. What you need to do is start off a little to one side of it. Dash down (whilst holding down ZR), collect the strawberry and move into the direction towards one of the walls and cling onto it. When you dash through these spaces, you get another dash, so dash back up and you’re free!
Now we want to make our way onto the plank on the left of frame, dash right through the space and then proceed through to the right exit.
Strawberry #4

Jump up onto the first step, then the second, and then jump and dash onto the conveyor platform; once you’ve landed, dash right through the space and then dash right again to collect the strawberry and cling onto the wall. Climb up and you’ve got your strawberry.
Strawberry #5

Now proceed right and in this frame, you want to move right, jump and dash through the space, then dash up-right, collect the strawberry and cling onto the wall. Climb up a bit, kick off and dash left through the space, and then again and fall down to safety. Ta-da!
Strawberry #6

Now go back to the previous room and if you look carefully, you’ll notice that there is a little gap at the bottom of the screen just past that long bit of space. Stand in-line with the gap standing on the space and dash downwards. And another strawberry!
Now fall down on the crumbling stone and proceed back to the middle room.
Strawberry #7

From here, we want to go to the top-left of this section and through to the next room.
This part here is tricky, you need to collect all three gems without landing.
There are multiple ways to do it, but you get the idea…
And then you’re rewarded with a strawberry – huzzah!
Strawberry #8
Now move to the left and do you see that crumbly bit of ground? Jump and dash down into that to reveal another area.

Jump down, collect your strawberry and go right to go back to the middle room.
Now we want to dash down through the starry space on the bottom and make our way into the area where the B-Side Tape is hidden. We are currently working on our guide for B-Side tapes, so stay tuned for that!
Now after that little tangent, make your way back up to the middle room. Proceed all the way up and through the exit up the top. Now make you way back to the frame that you first saw the spaces, but now they’re glowing as well.
Strawberry #9

So stand just below the rectangular space and dash upwards through to the other side. Now proceed right to the next frame.

In this room, jump onto the second ledge and jump up-right. Dash right through the first space, then fall a bit and dash right again to get the strawberry and cling onto the wall. Kick off and dash up-left through the space from the bottom right and then dash up-left again back to safety.
Now we’ll continue through the story by dashing back down the space to where we were before. Move to the right edge of the ground that’s just underneath the space, jump up-right, dash up-left, then dash up-left again on the other side to grab onto the wall. Climb up to the plank and proceed upwards…


In this part, you may want to dash straight through, but that won’t work. You’ll need to dash up-right, move to the left a bit, dash down-right, move right so that you are underneath the gap, dash up, dash up again, move to the left a bit, dash down-right, then dash left. Need a video? I understand…

Proceed up, grab your popcorn and watch the cutscene…
But don’t get too comfortable, the next few strawberries are going to require some quick moving.

Strawberry #10

Madeline’s dark side will now come chasing after you. Dash up-left through the space, jump, then dash up-right to the area above. Jump and grab the strawberry, then jump back and land on solid ground…
Strawberry #11

Proceed up to the next room, run right and dash up through the space. Then fall to the right, and when you’re in-line with the gap that you can see opening to the strawberry (where the room with the strawberry in it has the lower part of the L shape), dash left and collect the strawberry. Now proceed to the next frame.
Proceed through the next two frames as there are no strawberries there.
Strawberry #12

This room now has three dark Madelines in it, so you better move FAST! There is a strawberry at the top-left of this room. So make your way to the spring button on the left. Climb and make your way to the plank and then jump and dash upwards to collect the strawberry, but get down quick before a dark Madeline catches you! Make your way through the rest of this screen and move to the next one.
Strawberry #13

The next room has a strawberry on the bottom-right, but we’re going to ignore that one for now. Instead, jump off the plank and dash through the first space, and cling on to the left of the second one. Kick off from it, dash upwards and cling on to the wall. Make your way up to the next frame and there’s the strawberry!
Strawberry #14

Now make your way back down to the room where we were in before and go let’s go for that next strawberry. This one is a bit tricky to explain, but basically run off the plank, dash right through the space as high up as you can, dash again through the other space, and fall right until you get the strawberry (make sure you cling onto one of the walls, otherwise you’ll go splat into the spikes). You don’t want to use another dash before getting the strawberry, because you’ll need that to get back to safety. Jump up, dash up-right and land on solid ground.
Here’s a video, if that makes it easier…
Strawberry #15

Make your way to the next room (with some difficulty) and there is a strawberry on the lower section. We’ve attached another video just below but basically, make your way through it as fast as you can, and when you come from the left and see the space, jump and dash through that up-right, cling onto the wall, climb, jump, get it and fall whilst avoiding all of the dark Madelines.
Make your way to the bottom and proceed outside.

Strawberry #16

Go all the way to the frame that has many long portrait rectangle spaces. You’ll see an opening just above one that you’ll need to stand just to the left of it. jump and dash up-right through it, cling onto the left side of the floating platform, kick off, dash upwards and land on top of it.

Jump and dash straight up through the starry space. Once you come out the other side, fall to the left, grab the strawberry and keep dashing right and left through the space until you reach the bottom.
Strawberry #17
Now go back down to the room where you came from, and dash downwards on the space that you’re standing on.

Jump down to the bottom plank. Once there, jump right and dash up-right through the space from the bottom left of it. Then fall in between the two spaces and do the same thing again to land on the other side and collect the strawberry. Make your way back up and towards the cutscene.
Strawberry #18
Make your way to the right of screen (speak to Theo if you’d like) and come to the room with the spring buttons. Use the fifth one to propel yourself up and cling onto the floating island. Climb to the top of it and then jump and dash up-left through to the gap above. Make your way up to the next room and there is another strawberry (but with wings).

This room doesn’t let you use the dash until right at the very end, otherwise the strawberry will fly away (you can get it back by exiting and reentering the frame). Jump to the left spring button onto the crumbling rocks, then jump to the next, then to the other spring button. Cling onto the wall on the right, kick off onto the two crumbling rocks, then the next two, then jump and dash at the last second to grab the strawberry.
And that’s it, we’re done!

Chapter 3 shouldn’t be too far away, so stay tuned for more!
If you found this guide helpful, or if you’d like to check out some of our other content, considering liking our Facebook Page and Subscribing to us on YouTube.