
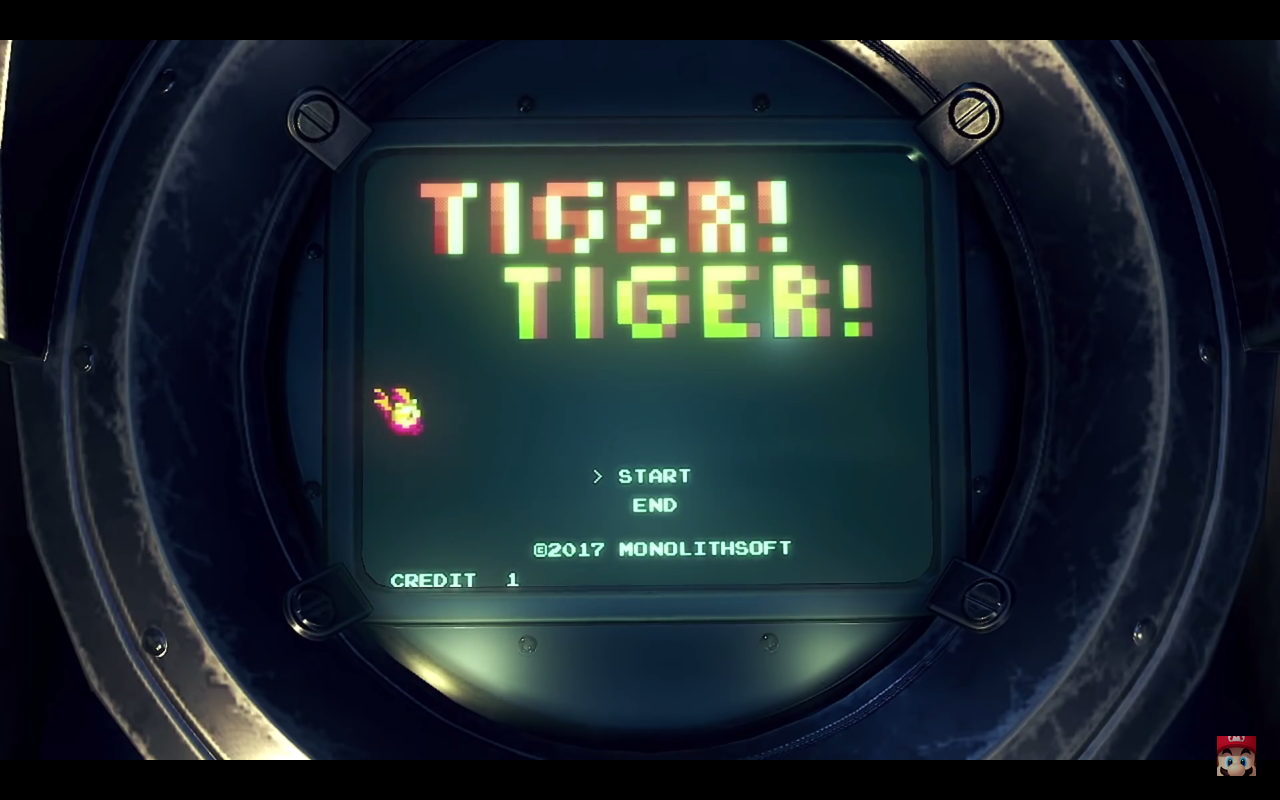
How To: Tiger! Tiger! A Guide To Making Poppi Stronger (Xenoblade Chronicles 2)

Reposted and reformatted/edited with kind permission from /u/ChronoWaster who originally authored this article at Reddit here.
If you want to make the most powerful Poppi possible you are going to have to play a significant amount of Tiger! Tiger!. However simply getting the chest at the end of the stage and making it back alive profits very little ether. Here are the things I learned to make it easier.
Goal
The goal of Tiger! Tiger! is to reach the bottom of the stage and collect the big chest, then surface to the top. That is at least how you beat a stage, the real goal is to collect as much ether as possible to then upgrade the Poppis with.

By playing Tiger Tiger, you get to earn things that help you upgrade Poppi.
GAMEPLAY & CONTROLS
Other Tip lists have listed these, and I will as well, to maintain appearances.
Controls
- Move with the left analog stick, or directional pad
- Press A to fire a Anchor shot in the cardinal direction you are facing
Gameplay
- There are three statistics: HP, Score, and Ether
- To pick up the collectibles (Red and gold chests, blue crystals, wrench) simply swim over them
- Chests will award rewards at the end of the stage, 8 small ones are scattered through every stage
- Blue crystals are worth 1 ether each and some score, collected even if you die.
- Wrench upgrades Anchor shot so that it may fire on the diagonal, only holds one at a time
- Picking up the large chest at the bottom of the stage will cause the stage to begin scrolling to the beginning. After picking up the large chest the Anchor shot can no longer be fired.
- Touching walls or Aquatic foes will deal damage to your blue hp bar and remove a collected item, starting with the wench moving onto chests
- Running out of HP will end the stage, no chest rewards collected
- Foes can be destroyed by hitting them with the anchor shot, any part of the anchor will work, chain or tip, and it hits twice, once while extending, once while retracting. Awards some score.
- Some Foes can only be harmed from a certain direction, others take multiple hits (elaborated in Aquatic Foes).
- On occasion Foes will drop a bottle which restores HP, or a bubble / orb which grants a good duration of complete immunity.
- Medals can be earned based on performance and are shown grayed out on the score screen if you fail to obtain them.
MEDALS
- Undamaged : Seems to double your score, obtained by ending the level with full HP. (You can still get damaged so long as you are able to heal before stage end)
- Ether Collection : Adds a large percentage of your collected ether to you ether total, obtained by gathering all ~80 crystals on a stage.
- Chest Collection : Gives flat bonus of ether, obtained by gathering all 8 small chests by stage end, and not losing any.
- Medal collection : Seems to double your score and give a flat bonus of ether, obtained by obtaining the other three medals in a single run.
- Pacifist Medal : Adds a hefty score bonus for not killing any foes, never worth the trouble as it is not required for medal collection.
REWARDS
The score you get at the end of a run of Tiger! Tiger! is only important for 1-2 of Poppi’s affinity skills. The only real rewards come from the ether and mods, both for use in PoppiSwap.
Mods can be found in the 9 chests placed on any given stage, 8 small and 1 large. The small ones can contain ether or mods, and the large ether, mods, or a core crystal. You will only get the spoils of a chest if you make it to the end of the stage with them. However the mods obtained are random, likely each stage has a pool of mods it can reward, but I am largely unsure. So while the type of mod is likely tied to stage, their rank (I,II,III,…) is tied to your “reward value” which increases as you progress the story.
Ether on the other hand can be used in PoppiSwap to unlock new slots to equip mods, increase power total (each mod has a power cost, becoming greater at higher ranks), or purchasing more mods.
What this translates to is that ether is far more valuable than mods, as you have a better chance of simply making the mods you want for your Poppis then un-boxing them, as many simply don’t drop in the stages available when you could craft/purchases them. This is sadly only if you are vigilant find the various manuals that unlock more mods for purchase scattered about Alrest.
Edit Credit to /u/Jerbit: However, worry not, you can crystallize Mods in the “create/crystallize Parts” menu by pressing Y. This can net you some nice payout for you extra Mods.
STORY PROGRESSION
Progressing through chapters will unlock more stages for unlock (you still have to clear the earlier stages, no medals required) as of chapter 8 there are 5 possible stages.
It will also raise the Reward value. As far as I am aware, Reward Value has 3 stages (as of chapter 8) level one is the value when you first get Poppi, level 3 is unlocked at the end of chapter 7 / Start of 8, and level 2 is somewhere in between. Increased Reward Value will grant higher rank mods, and more ether from chests and medals (elaborated in gathering ether).
GATHERING ETHER
There are a few ways to get ether during a stage:
- There are ~80 gems which can be swam granting 1 ether
- A bonus screen found on stage 2 allows a chance at ~550
- Then at the scoring screen you will be awarded in order:
- For the ether badge: 1x/1.3x/1.6x ether collected will be added to your ether total
- For the Chest Badge: ???/300/500 ether added to total
- Then each of the 8 small chests can contain 50/100/150 ether, I believe the large chest may also pay out ether.
- Finally if every badge is earned: +777 ether
In conclusion, to maximize your ether gain you are going to want to learn how to beat stages flawlessly. Now, you’re going to want to learn Stage 2 like the back of your hand.
STAGE 2: THE ONE TRUE STAGE

These coins are suspiciously to the side here.
Stage 2 is the best stage to gather ether, plain and simple. It is by my experience the easiest stage to obtain the ether badge. More so then on other stages, on stage 2 most of its maps have ether located in tight groups, or in nice vertical lines. This however is but a cherry on top of stage 2’s real power, the bonus zone.
On stage 2 when you see a crab hiding in a rock alcove, get exited. If it is on the right side of the map then you will see 2 ether gems bordering the edge of the screen. By rubbing up onto the edge you will be taken to another area where a masked Noppon will rain ether gems and spikes urchins from on high. Each gem is worth 10 ether. Getting hit by an urchin will put you back to the main map, you will have a moment of I-frames and will have taken no damage. You will also reach a time limit after 10-25 sec returning you regardless of how well you perform.
What is most powerful about this bonus is that you obtain the ether before you get the Ether Badge bonus, so your 550 ether can easily become a bonus 1100 or more. Sometimes the bonus area entrance will appear twice and maybe more on a map, and you can enter the bonus zone again.
With the mid-game Tiger! Tiger! awards, a perfect run of any stage can get you ~1.3k – 2.2k ether, but getting a bonus zone on stage 2 could grant another 1.2k, or more if you get lucky, and that is too much value to pass up.
ENEMIES
- Blue Urchin: Unmoving, Unkillable, Spiky blue ball, will kill on contact
- Green Jellyfish: Floats in place, can only be killed when you are above it, diagonal shots work so long as you are firing from fully above the fish, even though the chain hits its tenacles
- Green Turtle: Swims from side to side until it hits a wall. Must be hit from below to kill
- Green Shark: Swims from side to side, vulnerable from all directions
- Green Piranha: waits stationary to jump to the right/left to damage you, vulnerable from all directions
- Red Shark: Swims from side to side until approached then it will follow you, takes 2 hits from any direction to kill. Be careful as from stage 3 onward the red sharks at the bottom of the stage will take 3 hits to kill. Additional warning, the Anchor shot has no hit-box inside of your character, so when a red shark gets on top of you, you will be unable to hit it without moving away. They will begin to move towards you even off screen, so be careful when close to the edges.
- Red Crab: Waits in the nooks of rocks to drop down onto you, can be harmed from any direction (though walls may block you) and can attack from off screen.
- Blue Eel: waits below to jump up at you, can be harmed from any direction.
- Green Tentacle: Unkillable, waves about to and fro.
Strategies & Tips
- After firing the Anchor you will remain facing that direction and the chain will move along with you. This is useful for pre-emptively hitting crabs, eels, and piranhas as they charge you. You can also use it to sneak you hook past walls.
- Stages are not fully random, The start and end are always the same, and the areas in between are various sections jigsawed into different orders. Whether these are randomly ordered, or part of a set map rotation I am unsure, but my advice is the same. Create and learn a plan to collect all the ether crystals and chests in any given section of a stage. This will make it easier to learn perfect runs then trying to plan the whole run.
- A general strategy is to collect all the ether on one side of the screen, while making sure to kill the foes, and leave collecting the ether on the other side for your return trip
- Horizontal strips of ether are hard to collect on the return trip as you move up faster, vertical strips are easy, so prioritize horizontal ether clumps on your journey down.
- Position yourself just above a chest and fall onto it rather then move down onto it, as to avoid hitting the rocks from above.
- Your hit box does not include your ears, this is especially apparent to the return trip. It is smaller then it appears. so you can fit through many spaces.
- Try to stick close to the bottom of the screen both ascending and descending. While descending you need all the time you can to kill foes and collect, and while ascending you want to see as much of the stage as possible to plan your route as to not get trapped and to pick up any straggling ether / chests
Other hidden zones
- I reiterate: Stage 2 is the money stage. It’s the easiest to beat and has the best possible known payout.
- There are more hidden zones, than just in Stage 2. Stage 3 has one on the left side between 2 single rock segments perpendicular to two jellyfish. Credit to /u/vanekez.
- Stage 1: same set-up as stage 3 above, but the rocks are a bit closer together, tougher to get through undamaged
- Stage 2: right side of the map then you will see 2 ether gems bordering the edge of the screen, crab waiting above.
- Stage 3: left side between 2 single rock segments perpendicular to two jellyfish.
- Stage 4: left side, You will see a green piranha over 3 spikes and then a jellyfish, hugging the wall behind the spikes will enter the hidden zone, hard to get zone and the chest nearby
- Stage 5: left side, you will see a green tentacle waving a bit above 3 spikes forming a backwards L ageist the wall, get in that L and press the wall to enter the hidden zone. A fair chance you will die upon returning to the spikes, unless you immediately hold up and to the left to escape the spikes.
Closing Remarks
I hope this helps you young punks out there, just trying to make Poppi the god she deserves to be, scarping for any bits of ether to collect the 100k + you need to unlock all the slots, even though you may hate playing Tiger! Tiger!